使用Docker创建并运行Bolt.diy
介绍
- 首先我这里使用的是开源增强版bolt.diy版本
- 官方有各种安装方式并且有Docker版本,我个人感觉官方的版本太复杂,所以自己创建一个简单的版本使用
- 本文不介绍bolt是什么,需要可自行百度,全是介绍,很少教程
安装
首先必要说明:
- 这里最终是在Docker中运行,并且是自己制作镜像,当然可以直接使用官方中的Docker,本文也可以做部分参考
- 在ubuntu的系统中安装bolt会因为各种依赖导致运行出错,最常见的一个就是:解决方法就是不要在ubuntu中,基于node镜像制作不会出现这个问题
1
2
3
4
5
6
7
8
9
10
11
12
13
14
15
16
17
18
19
20
21
22
23
24
25
26
27
28
29
30
31
32
33
34
35
36
37
38
39
40
41
42
43
44
45
46
root@fdd48a12b501:/mnt/bolt.diy# pnpm run dev
> bolt@1.0.0 dev /mnt/bolt.diy
> node pre-start.cjs && remix vite:dev
★═══════════════════════════════════════★
B O L T . D I Y
⚡️ Welcome ⚡️
★═══════════════════════════════════════★
📍 Current Version Tag: v"1.0.0"
📍 Current Commit Version: "5d3fb1d"
Please wait until the URL appears here
★═══════════════════════════════════════★
warn Data fetching is changing to a single fetch in React Router v7
┃ You can use the `v3_singleFetch` future flag to opt-in early.
┃ -> https://remix.run/docs/en/2.13.1/start/future-flags#v3_singleFetch
┗
Error: write EPIPE
at afterWriteDispatched (node:internal/stream_base_commons:159:15)
at writeGeneric (node:internal/stream_base_commons:150:3)
at Socket._writeGeneric (node:net:966:11)
at Socket._write (node:net:978:8)
at writeOrBuffer (node:internal/streams/writable:572:12)
at _write (node:internal/streams/writable:501:10)
at Socket.Writable.write (node:internal/streams/writable:510:10)
at Runtime.updateConfig (/mnt/bolt.diy/node_modules/.pnpm/miniflare@4.20250321.1/node_modules/miniflare/src/runtime/index.ts:154:24)
at _Miniflare.#assembleAndUpdateConfig (/mnt/bolt.diy/node_modules/.pnpm/miniflare@4.20250321.1/node_modules/miniflare/src/index.ts:1471:28)
at Mutex.runWith (/mnt/bolt.diy/node_modules/.pnpm/miniflare@4.20250321.1/node_modules/miniflare/src/workers/shared/sync.ts:66:45)
at _Miniflare.#waitForReady (/mnt/bolt.diy/node_modules/.pnpm/miniflare@4.20250321.1/node_modules/miniflare/src/index.ts:1572:3)
at _Miniflare._getProxyClient (/mnt/bolt.diy/node_modules/.pnpm/miniflare@4.20250321.1/node_modules/miniflare/src/index.ts:1784:3)
at _Miniflare.getBindings (/mnt/bolt.diy/node_modules/.pnpm/miniflare@4.20250321.1/node_modules/miniflare/src/index.ts:1807:23)
at getPlatformProxy (/mnt/bolt.diy/node_modules/.pnpm/wrangler@4.6.0_@cloudflare+workers-types@4.20250327.0/node_modules/wrangler/src/api/integrations/platform/index.ts:118:24)
at configureServer (/mnt/bolt.diy/node_modules/.pnpm/@remix-run+dev@2.16.3_@remix-run+react@2.16.3_react-dom@18.3.1_react@18.3.1__react@18.3.1_typ_56tyhioi4fkoibvrjndu6yshyi/node_modules/@remix-run/dev/dist/vite/cloudflare-proxy-plugin.js:55:11)
at _createServer (file:///mnt/bolt.diy/node_modules/.pnpm/vite@5.4.15_@types+node@22.13.14_sass-embedded@1.86.0/node_modules/vite/dist/node/chunks/dep-CevzF2vT.js:63240:20)
at configResolved (/mnt/bolt.diy/node_modules/.pnpm/@remix-run+dev@2.16.3_@remix-run+react@2.16.3_react-dom@18.3.1_react@18.3.1__react@18.3.1_typ_56tyhioi4fkoibvrjndu6yshyi/node_modules/@remix-run/dev/dist/vite/plugin.js:759:27)
at async Promise.all (index 3)
at resolveConfig (file:///mnt/bolt.diy/node_modules/.pnpm/vite@5.4.15_@types+node@22.13.14_sass-embedded@1.86.0/node_modules/vite/dist/node/chunks/dep-CevzF2vT.js:66589:3)
at _createServer (file:///mnt/bolt.diy/node_modules/.pnpm/vite@5.4.15_@types+node@22.13.14_sass-embedded@1.86.0/node_modules/vite/dist/node/chunks/dep-CevzF2vT.js:62918:18)
at dev (/mnt/bolt.diy/node_modules/.pnpm/@remix-run+dev@2.16.3_@remix-run+react@2.16.3_react-dom@18.3.1_react@18.3.1__react@18.3.1_typ_56tyhioi4fkoibvrjndu6yshyi/node_modules/@remix-run/dev/dist/vite/dev.js:39:16)
at Object.viteDev (/mnt/bolt.diy/node_modules/.pnpm/@remix-run+dev@2.16.3_@remix-run+react@2.16.3_react-dom@18.3.1_react@18.3.1__react@18.3.1_typ_56tyhioi4fkoibvrjndu6yshyi/node_modules/@remix-run/dev/dist/cli/commands.js:221:3)
at Object.run (/mnt/bolt.diy/node_modules/.pnpm/@remix-run+dev@2.16.3_@remix-run+react@2.16.3_react-dom@18.3.1_react@18.3.1__react@18.3.1_typ_56tyhioi4fkoibvrjndu6yshyi/node_modules/@remix-run/dev/dist/cli/run.js:271:7) {
errno: -32,
code: 'EPIPE',
syscall: 'write'
}
ELIFECYCLE Command failed with exit code 1.
Dockerfile
你可以直接拿我这里的文件直接用
至少在我这没有问题,解决了后面列出的几个坑
1 | FROM node |
准备好Dockerfile之后,就可以执行以下命令进行创建镜像了,注意不要删了命令后的点
1 | sudo docker build \ |
如果代理不能进行签名校验,则git和pnpm都会报错证书校验不通过问题
1 | fatal: unable to access 'https://github/xxxxx': SSL certificate problem: unable to get local issuer certificate |
那Dockerfile中就需要加入关闭校验的步骤:
点击展开查看Dockerfile
1 | FROM node |
当然如果你没有代理,那么执行这个,不过可能会因为网络问题导致失败
1 | sudo docker build -t bolt-diy . |
遇到的问题
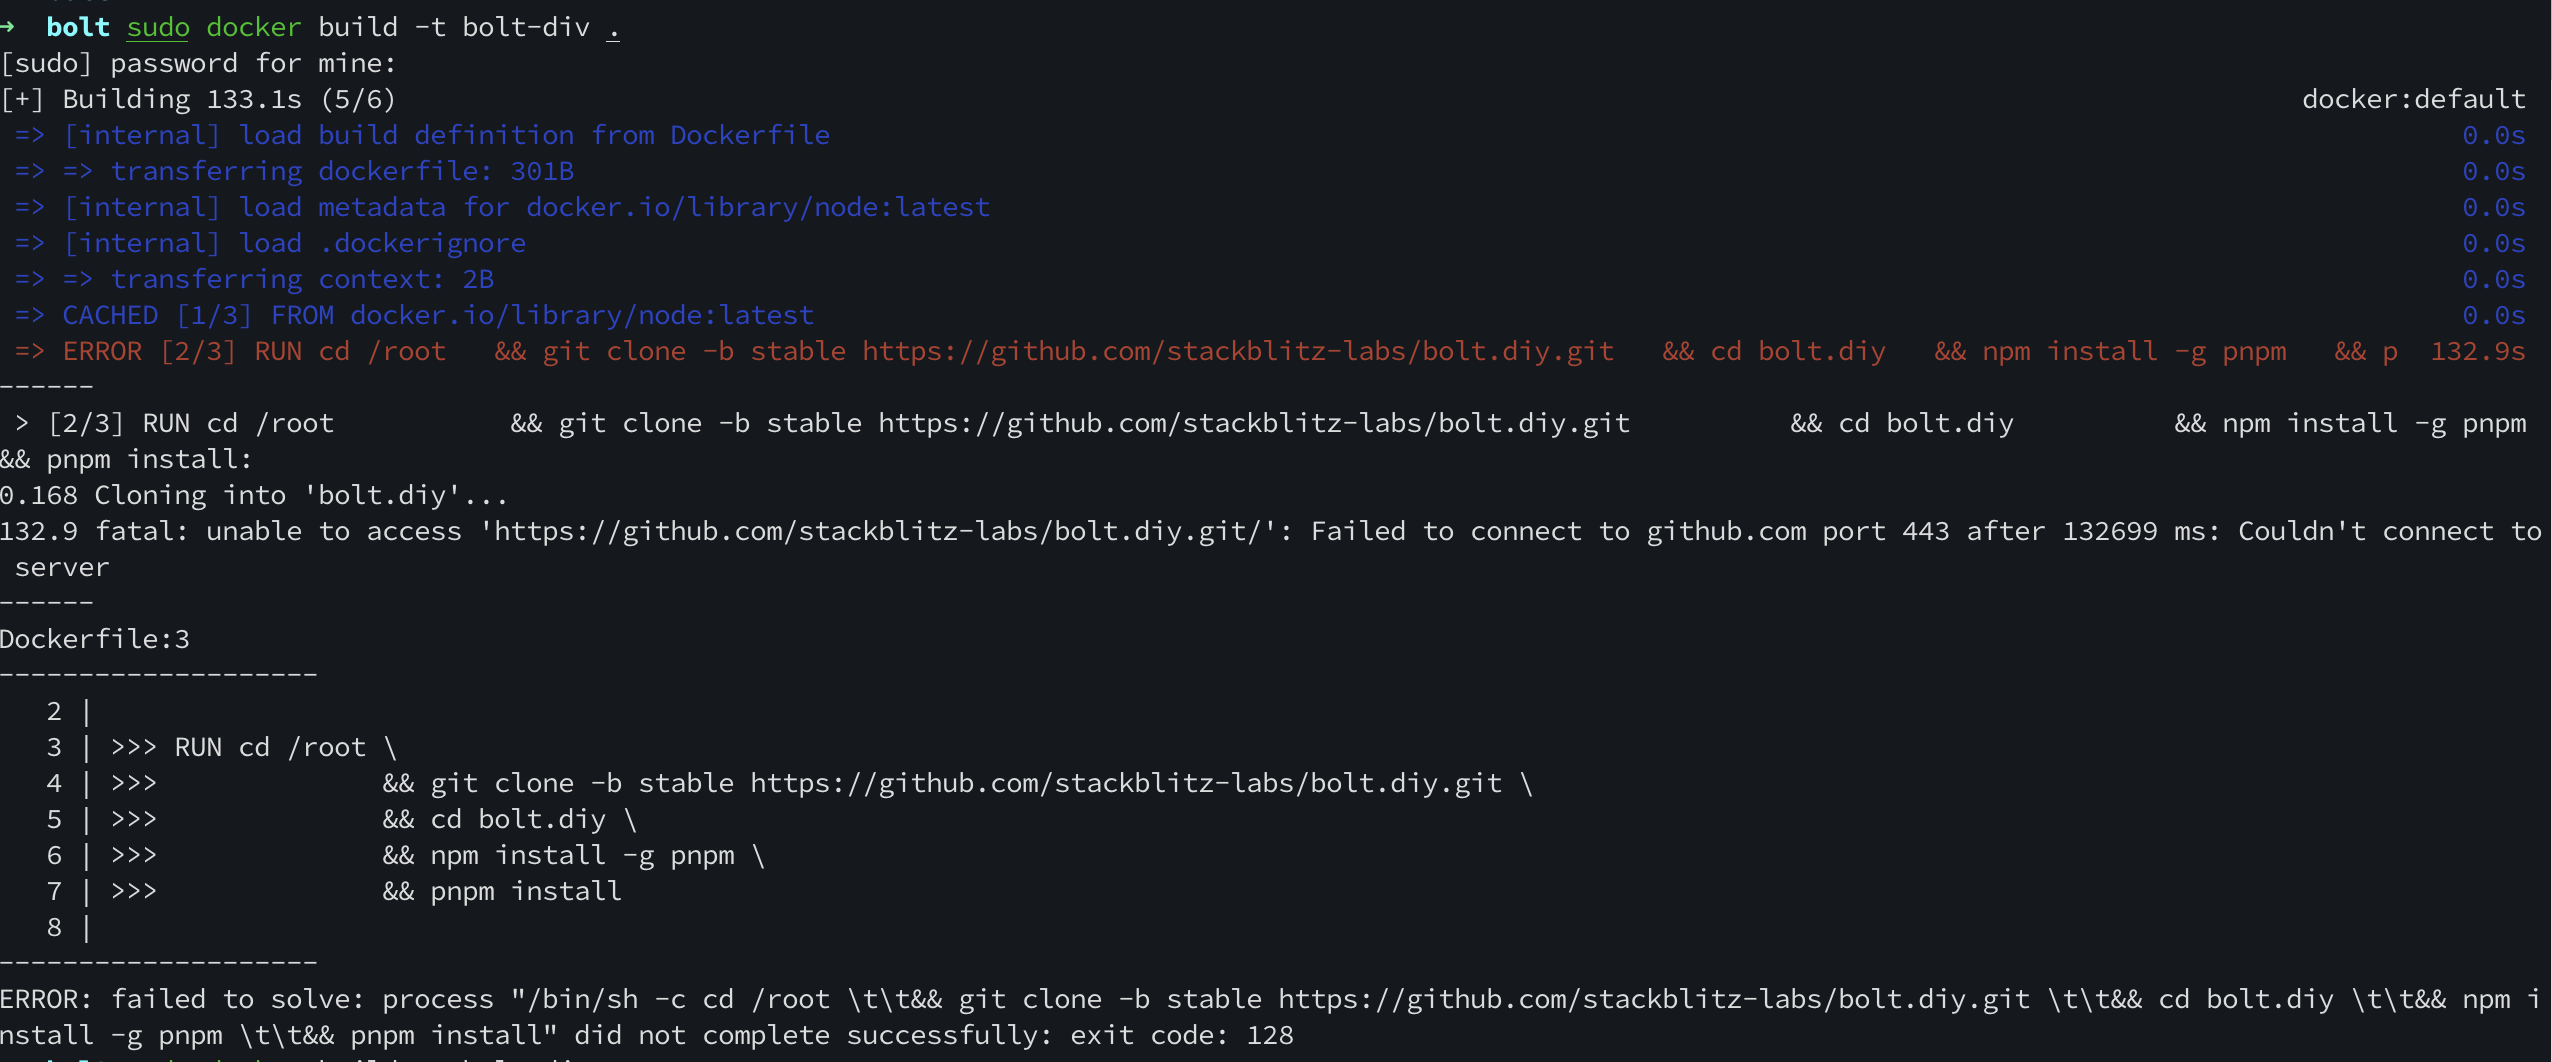
git clone failed
网络问题导致无法git
1 | # 报错 |
解决方法
- 使用代理解决,我这里就是通过代理方式解决网络问题
- 通过镜像源地址进行下载,镜像源网上就比较多了,随便找一个只要能clone下来地址就行
- 手动下载下来源码包,然后修改Dockerfile文件,直接拿进去使用,就不用git下载了,感兴趣的可以自己搜索教程实践下,我这里不赘述
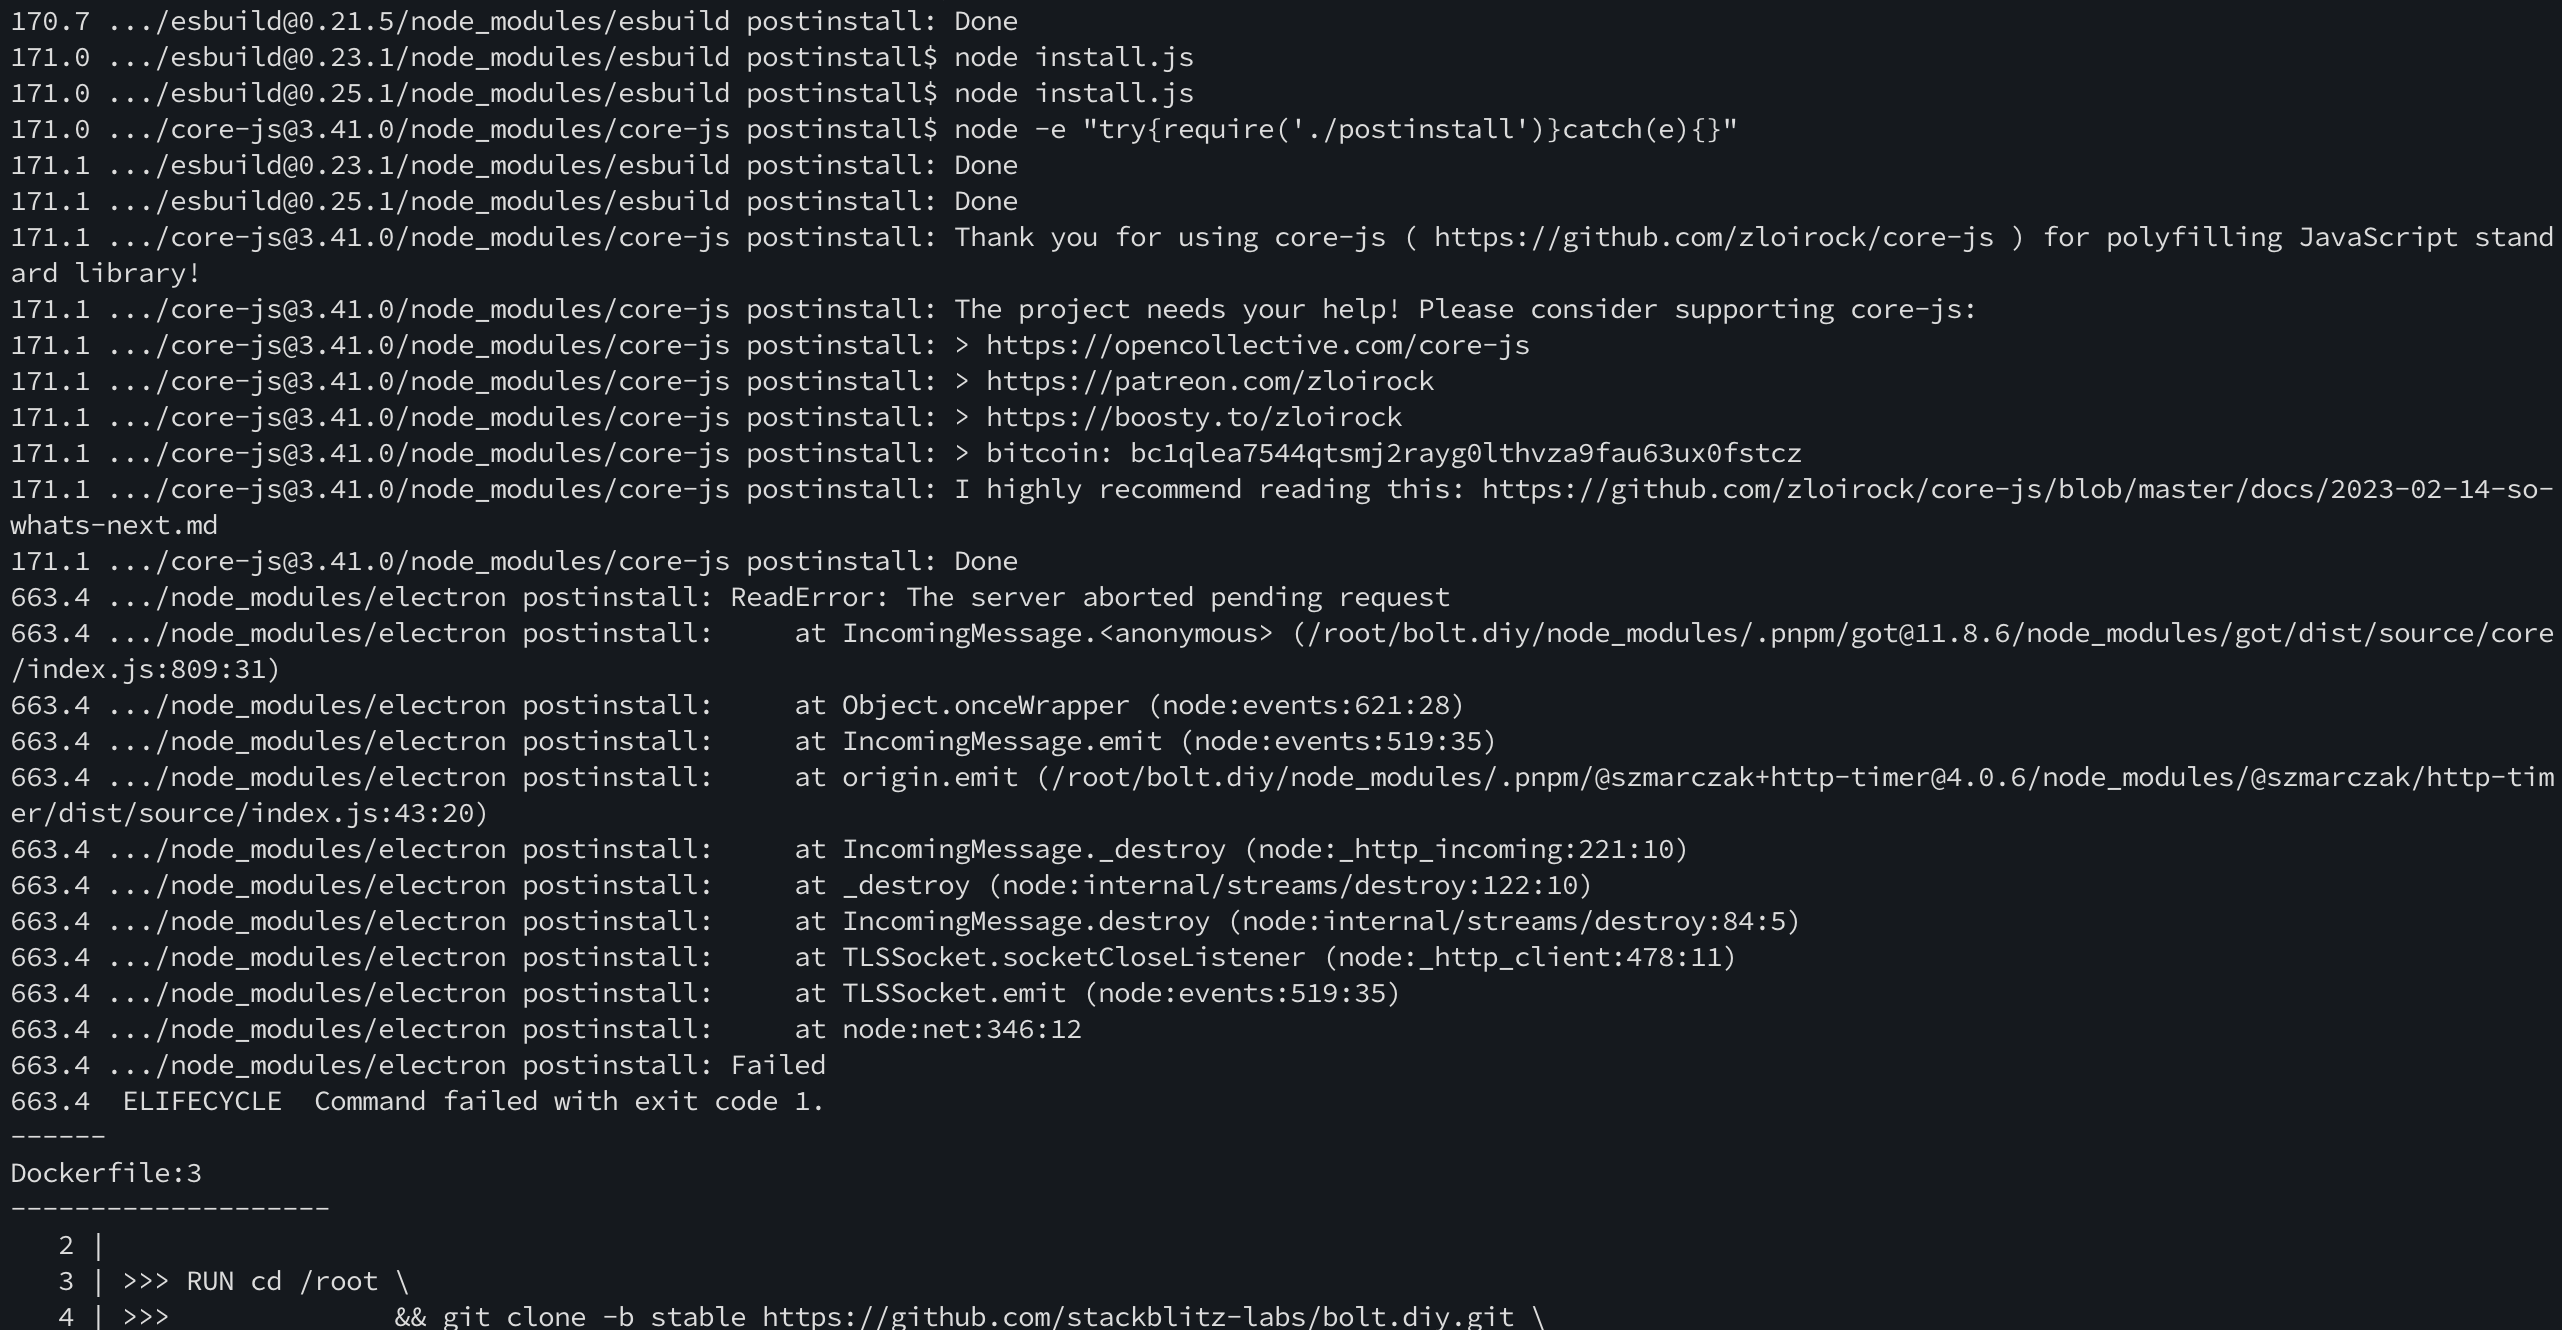
electron command failed
electron获取失败
1 | 171.1 .../core-js@3.41.0/node_modules/core-js postinstall: Done |
解决方法
哪怕是我挂了代理,还是会出现卡住的现象,没办法,只能更换electron的国内源解决,也就是Dockerfile中的这句:
1 | # 这是阿里源 |
当然也可以换成华为源:
1 | pnpm config set electron_mirror "https://mirrors.huaweicloud.com/electron/" |
网上很多人使用的淘宝源,亲测无效,不知道什么原因,必要的话都可以试试。
使用
Docker image创建好后可以通过这个命令拉起使用,并且向外映射5173端口
1 | sudo docker run -d --name bolt -p 0.0.0.0:5173:5173 bolt-diy |
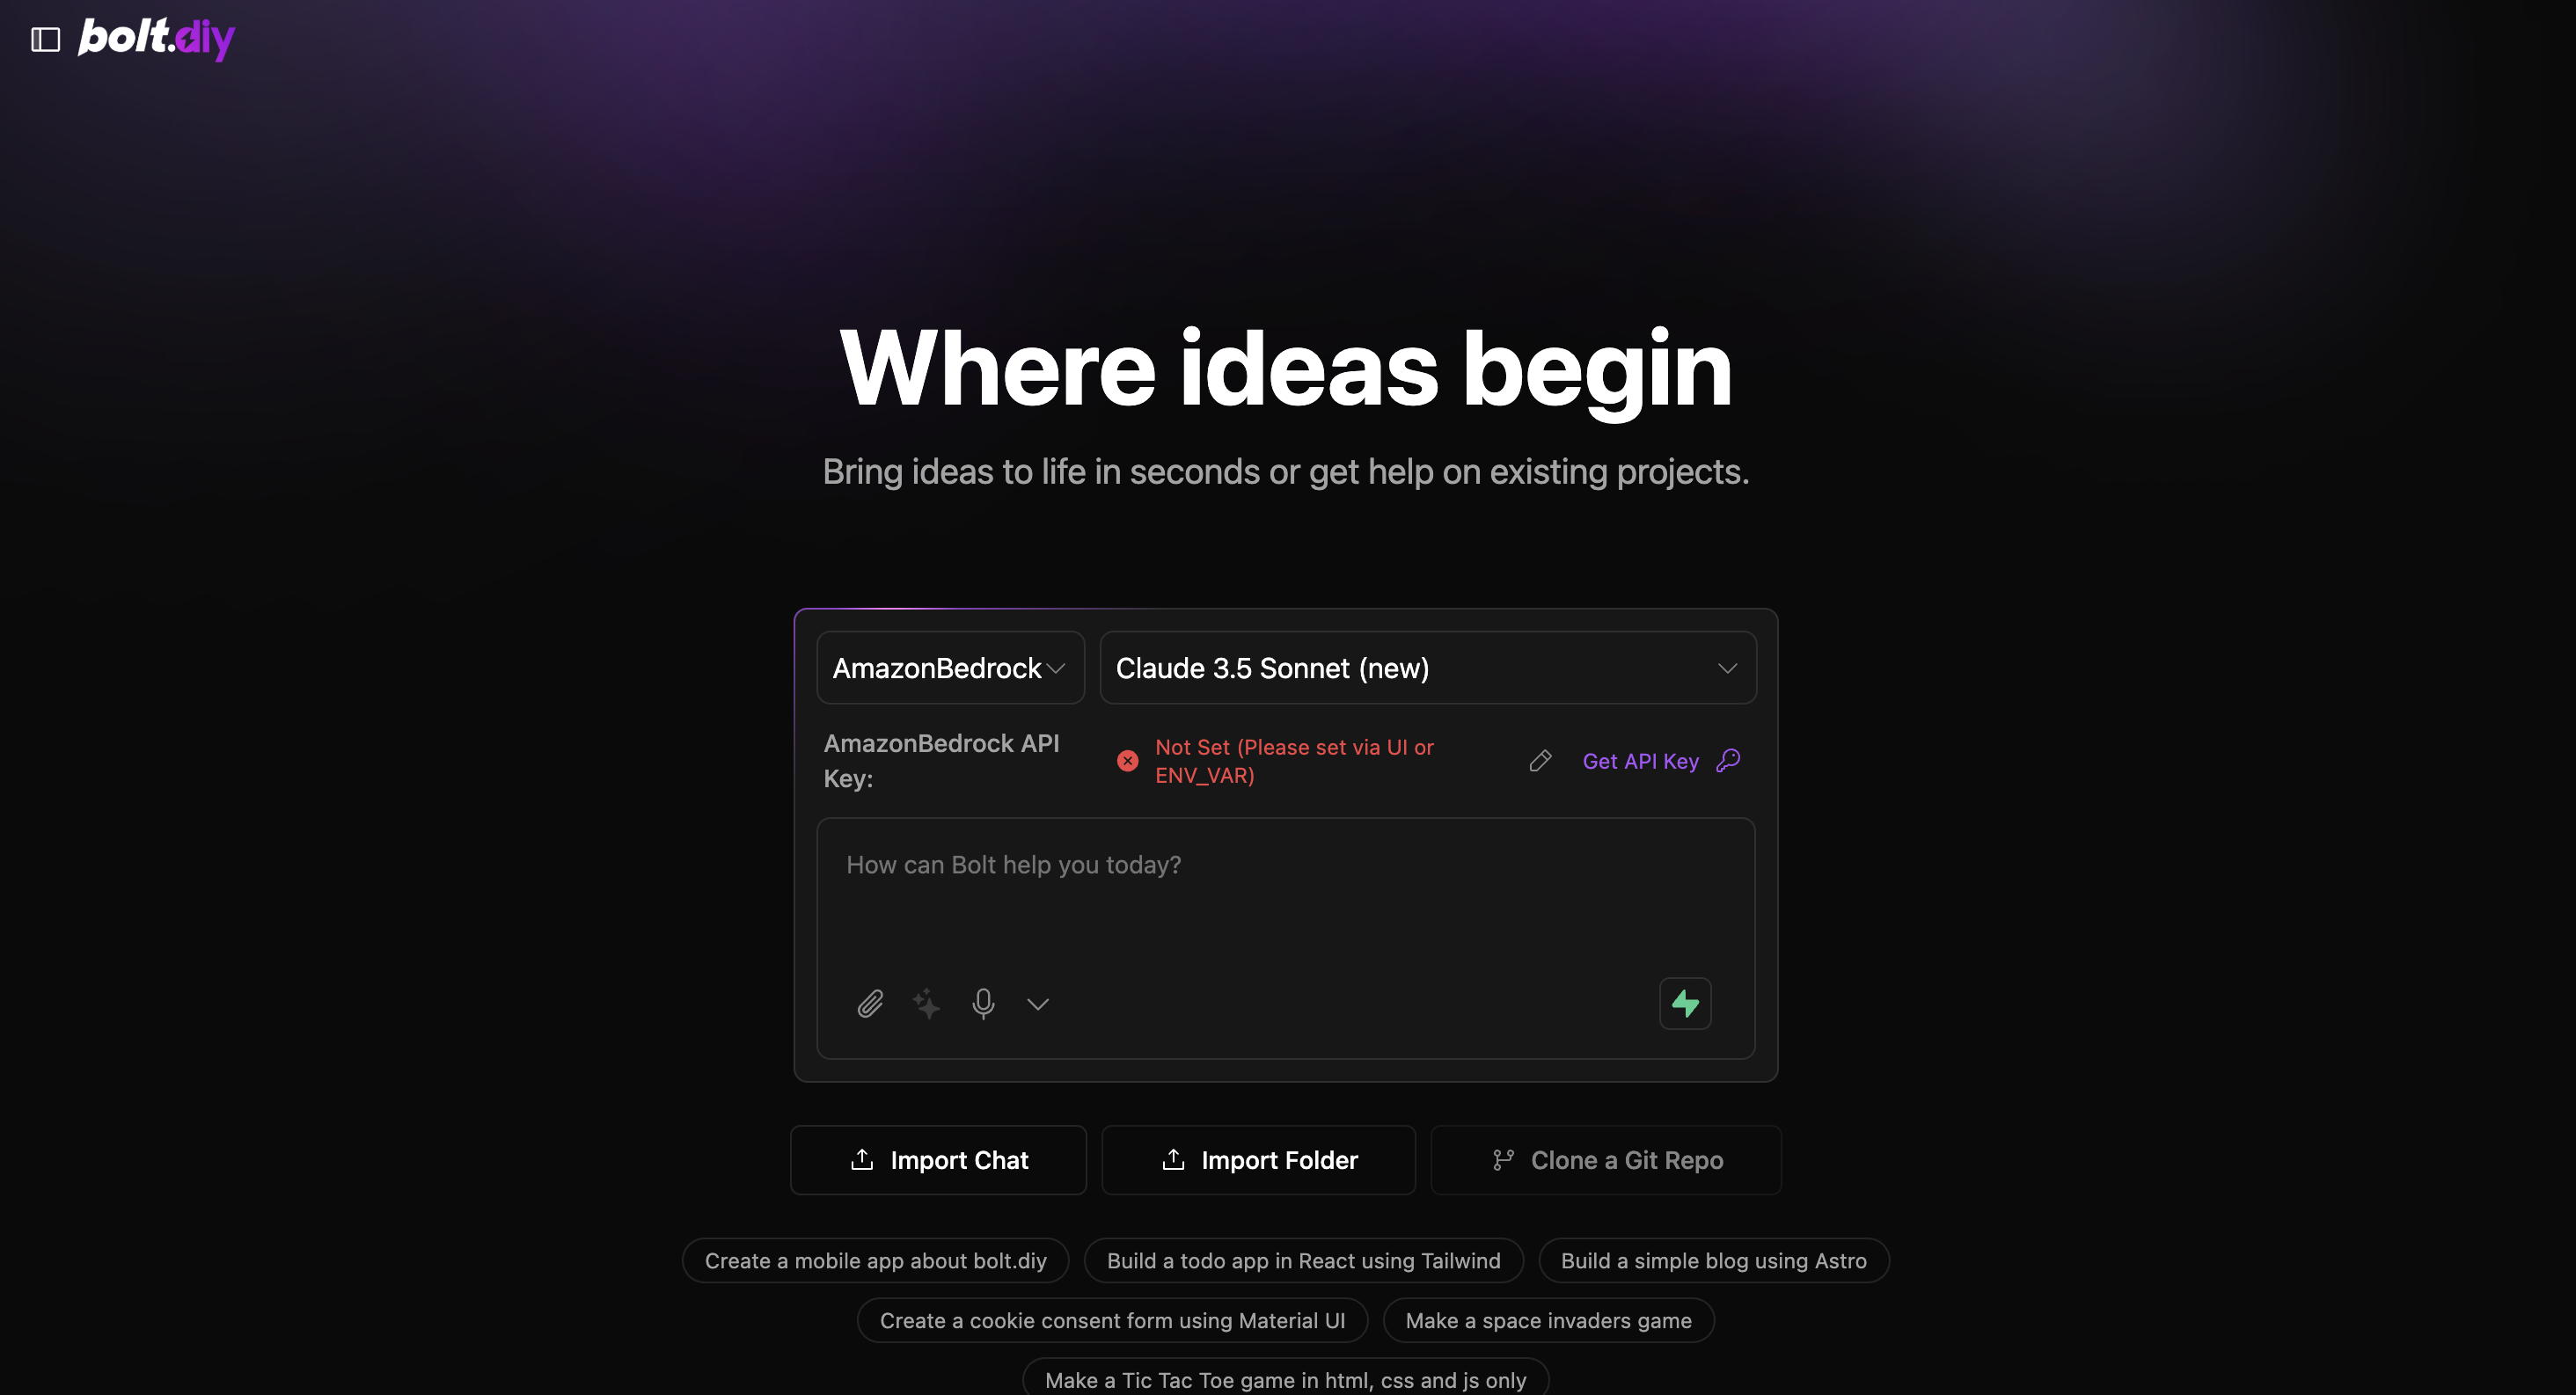
然后浏览器打开访问对应服务器ip:5173就可以看到界面了
不知道为什么,拉起docker服务后第一次访问是白屏,刷新一下界面或者重新打开就可以了
遇到的问题
代码界面无法显示
控制台报错并且界面不显示
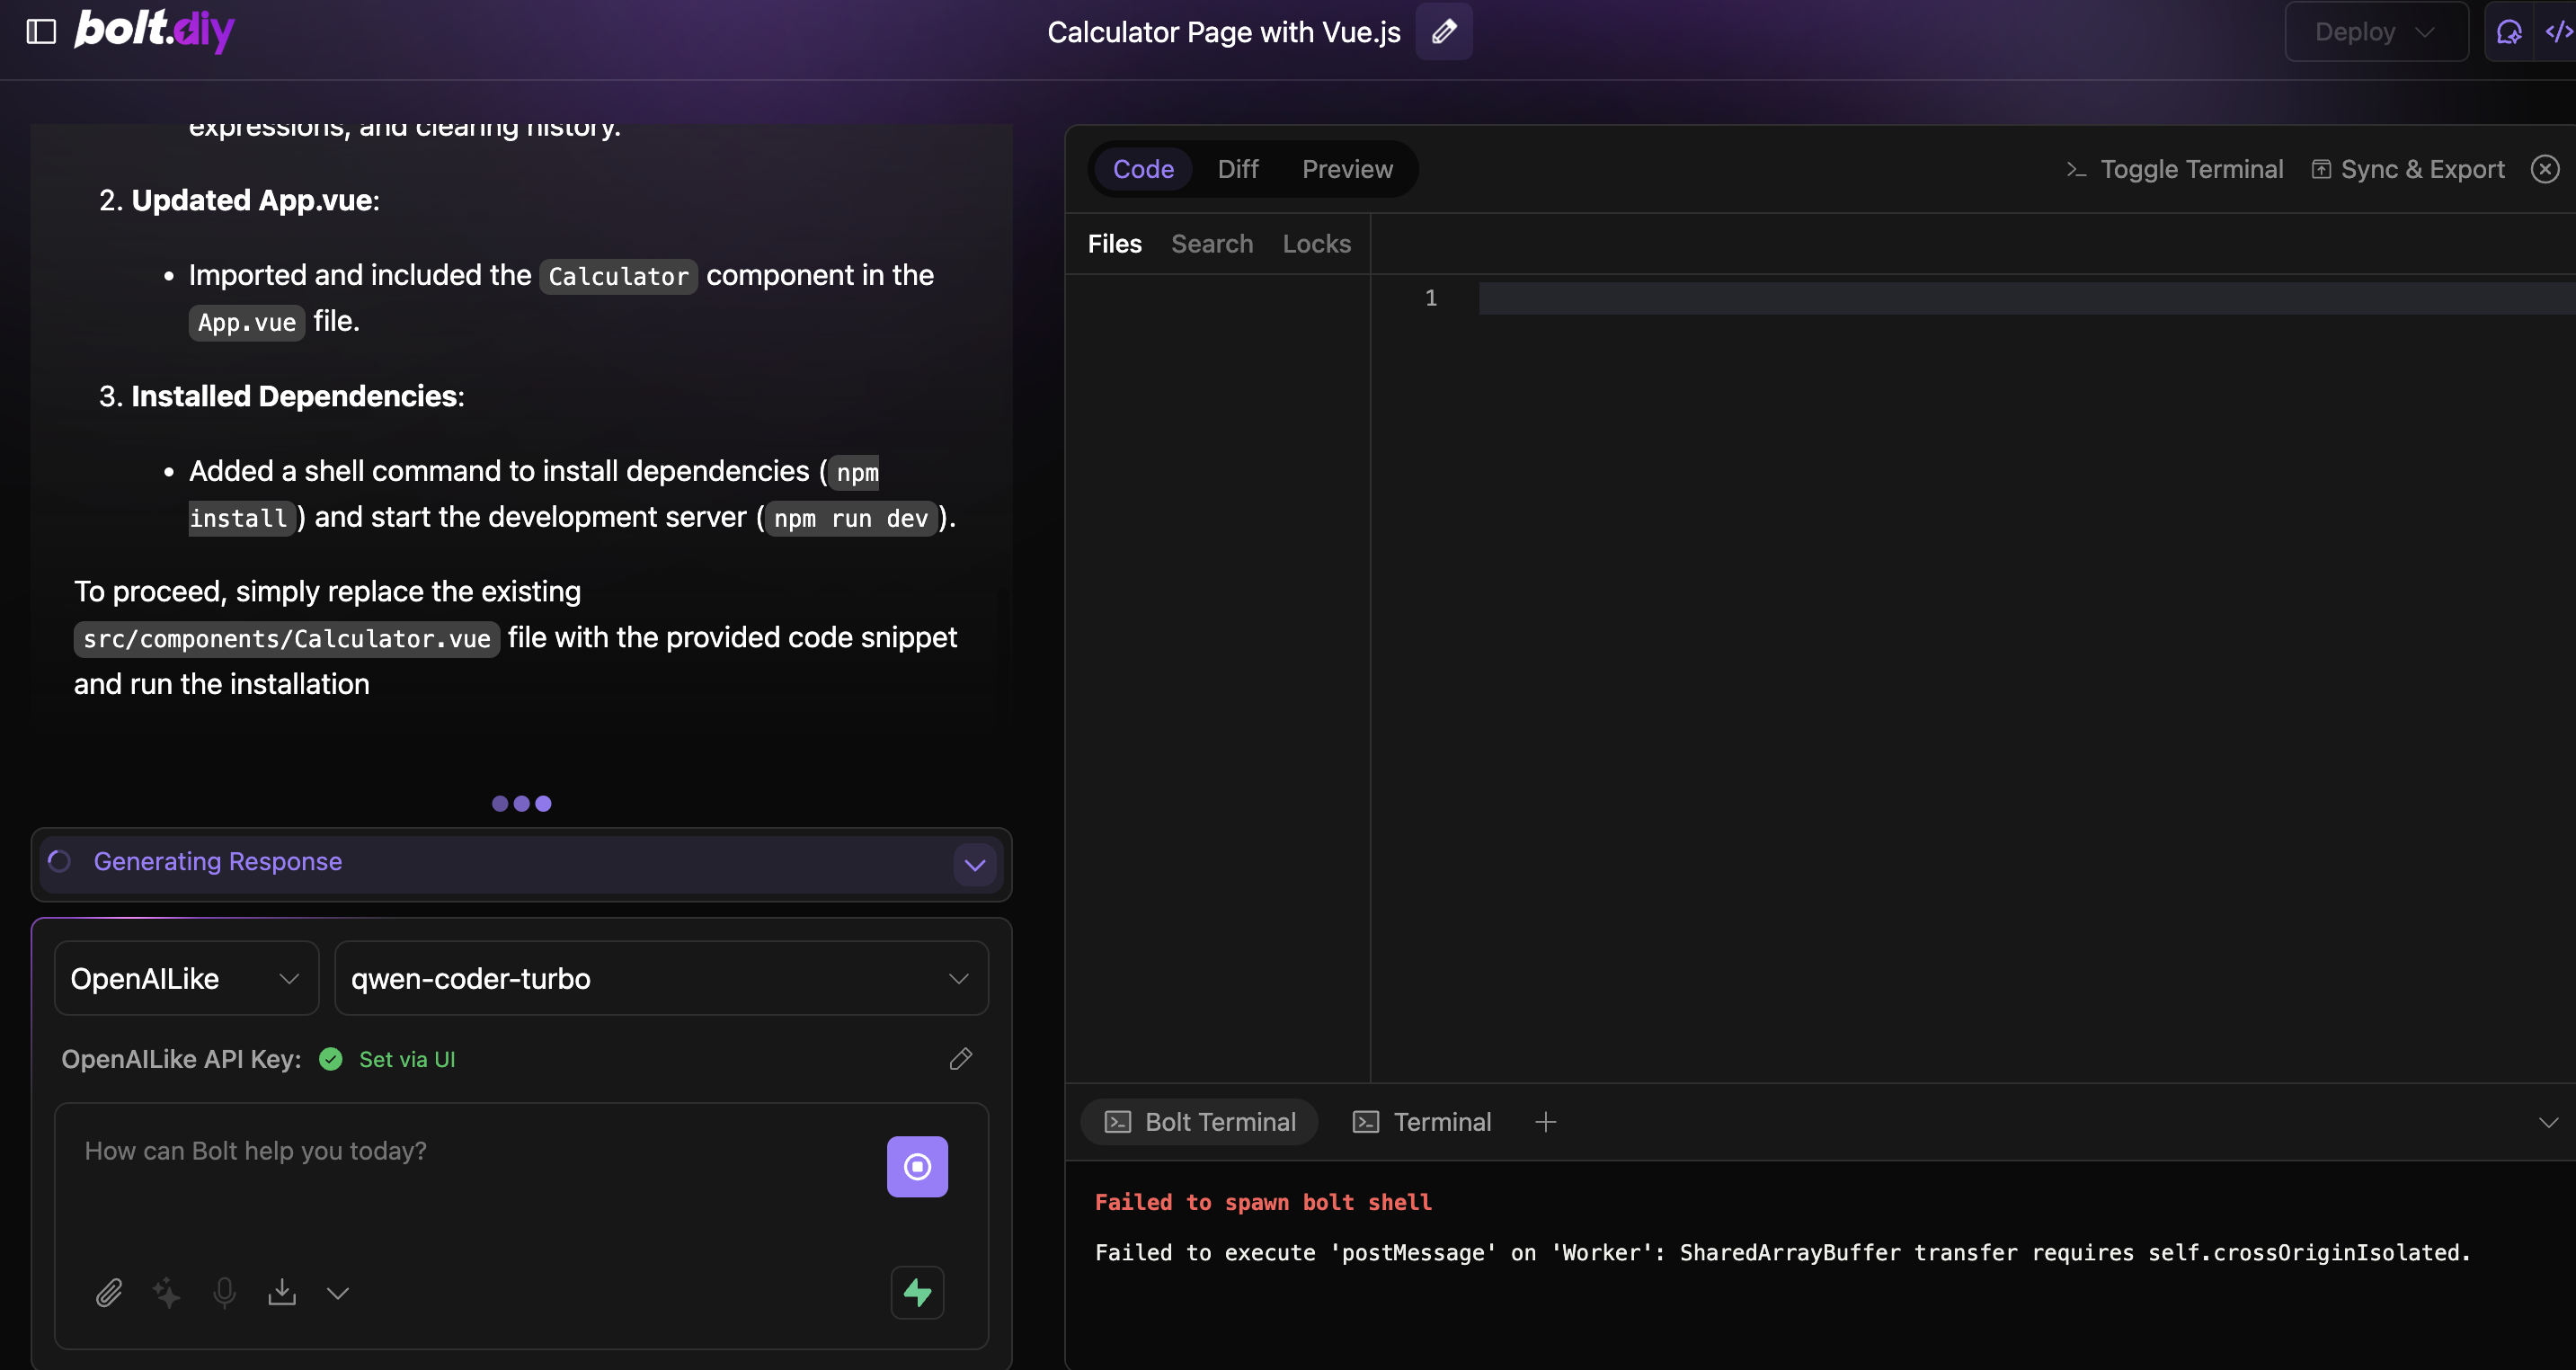
1 | Failed to spawn bolt shell |
与其说我遇到的两种情况下会出现这个报错,倒不如说只有一种情况不报这个错误
解决方法
网上搜索发现大家遇到这种情况还比较多,总结一下就是**不安全,需要使用HTTPS进行访问**
那这种情况要么配置自己的ssl证书,通过代理转发出去
如果没有证书,那也可以自签名来解决,因为我有自己的ssl,所以不需要做自签,但是这个网上教程非常多,可自行试错!
这里举例可做参考,我没有验过,不保证百分百可用
样例说明:
这个是自签名证书的过程,非自签的不用创建和导入证书的步骤
部分内容我做了修改,原版请看链接
平台是Linux做服务端,该教程Debian或者Ubuntu均可
Chrome浏览器作为客户端访问
域名解析
因为需要使用域名进行访问,所以需要本地进行DNS- 如果有自己的域名,那么直接解析即可
- 如果有自己的DNS,那么配置DNS,解析你自己的域名到服务端的IP即可
- 如果没有DNS,那么配置客户端的
host文件进行本地解析,这个自行百度本地配置域名解析即可
SSL证书创建配置
1
2
3
4
5
6
7
8
9
10
11
12
13
14
15
16
17
18
19
20
21
22
23
24
25
26
27# Create directory for CA
sudo mkdir -p /etc/ssl/CA
cd /etc/ssl/CA
# Generate private key for root CA
sudo openssl genrsa -out rootCA.key 4096
# Create root certificate
sudo openssl req -x509 -new -nodes -key rootCA.key -sha256 -days 1024 -out rootCA.crt \
-subj "/C=US/ST=State/L=City/O=Organization/CN=Local Development CA"
# Generate private key for server
sudo openssl genrsa -out /etc/ssl/private/nginx-selfsigned.key 2048
# Create Certificate Signing Request (CSR)
sudo openssl req -new -key /etc/ssl/private/nginx-selfsigned.key \
-out server.csr \
-subj "/CN=dev.example.local"
# Create SAN config file
echo "subjectAltName=DNS:dev.example.local" | sudo tee server.ext
# Sign the certificate
sudo openssl x509 -req -in server.csr \
-CA rootCA.crt -CAkey rootCA.key -CAcreateserial \
-out /etc/ssl/certs/nginx-selfsigned.crt \
-days 365 -sha256 -extfile server.ext安装和配置nginx服务,进行转发
这里不讲怎么安装和使用,只贴出我的配置文件,原文的配置文件对我不可用🚫1
2
3
4
5
6
7
8
9
10
11
12
13
14
15
16
17
18
19
20
21
22
23
24
25
26
27server {
listen 80;
server_name bolt.example.com;
rewrite ^(.*)$ https://${server_name}$1 permanent;
}
server {
listen 443 ssl http2; # 启用HTTPS及HTTP/2提升传输性能
server_name bolt.example.com;
charset utf-8;
ssl_certificate /etc/ssl/certs/nginx-selfsigned.crt;
ssl_certificate_key /etc/ssl/private/nginx-selfsigned.key;
location / {
proxy_set_header X-Forwarded-For $proxy_add_x_forwarded_for;
proxy_set_header X-Forwarded-Proto $scheme;
proxy_set_header Host $http_host;
proxy_set_header X-Real-IP $remote_addr;
proxy_set_header Range $http_range;
proxy_set_header If-Range $http_if_range;
proxy_redirect off;
proxy_pass http://your_ip:5173; # 这里填写bolt的ip和端口号
# the max size of file to upload
client_max_body_size 20000m;
}
}导入证书到Chrome浏览器
- 证书文件是:
/etc/ssl/CA/rootCA.crt,把它拿到客户端设备上 - 在浏览器里:
- Settings > Privacy and security > Security > Manage certificates
- Import to “Trusted Root Certification Authorities”
- Restart Chrome
- 证书文件是:
至此结束
域名被拒绝
vite拒绝访问该域名
1 | Blocked request. This host ("bolt.example.com") is not allowed. |
vite官网上解释如下:
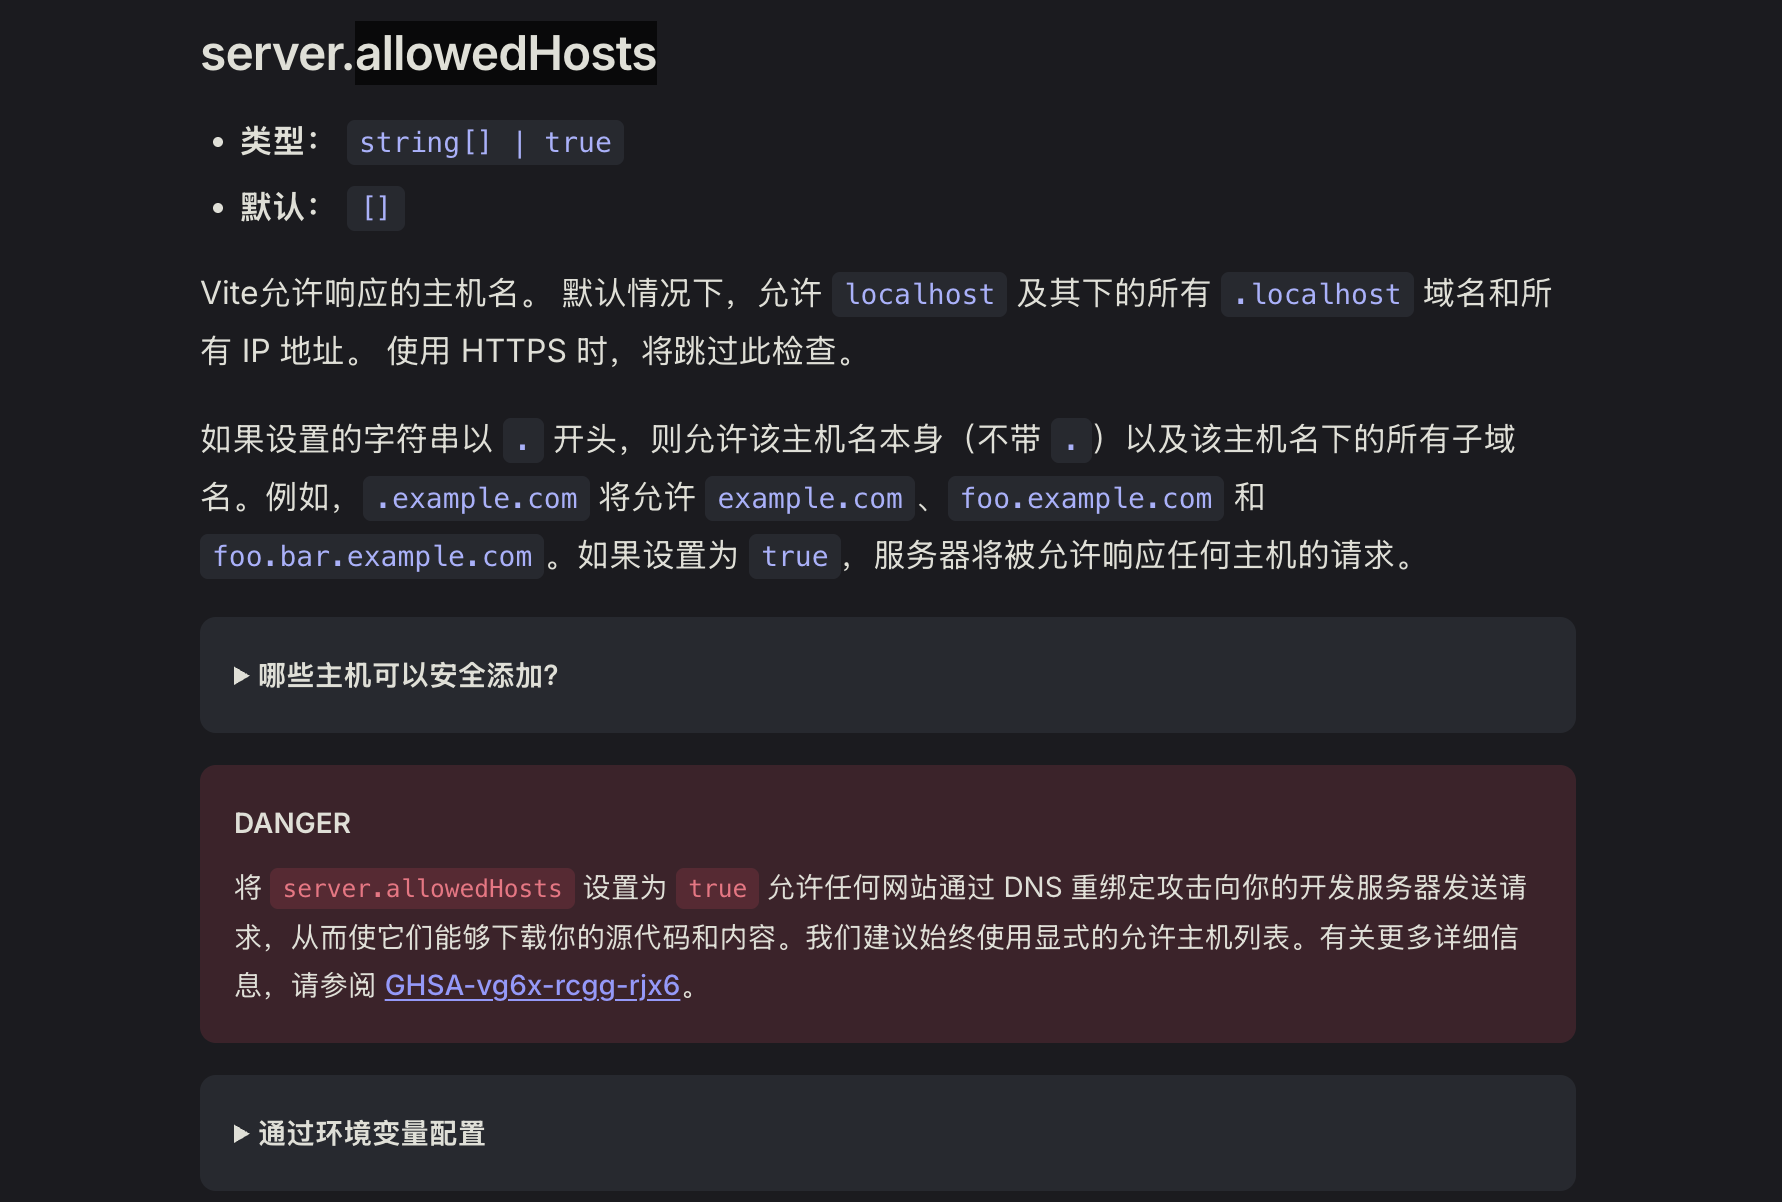
解决方法
将对应配置参数添加进配置文件中即可,因为我使用的docker,所以直接重新做镜像加入就行:
1 | FROM node |
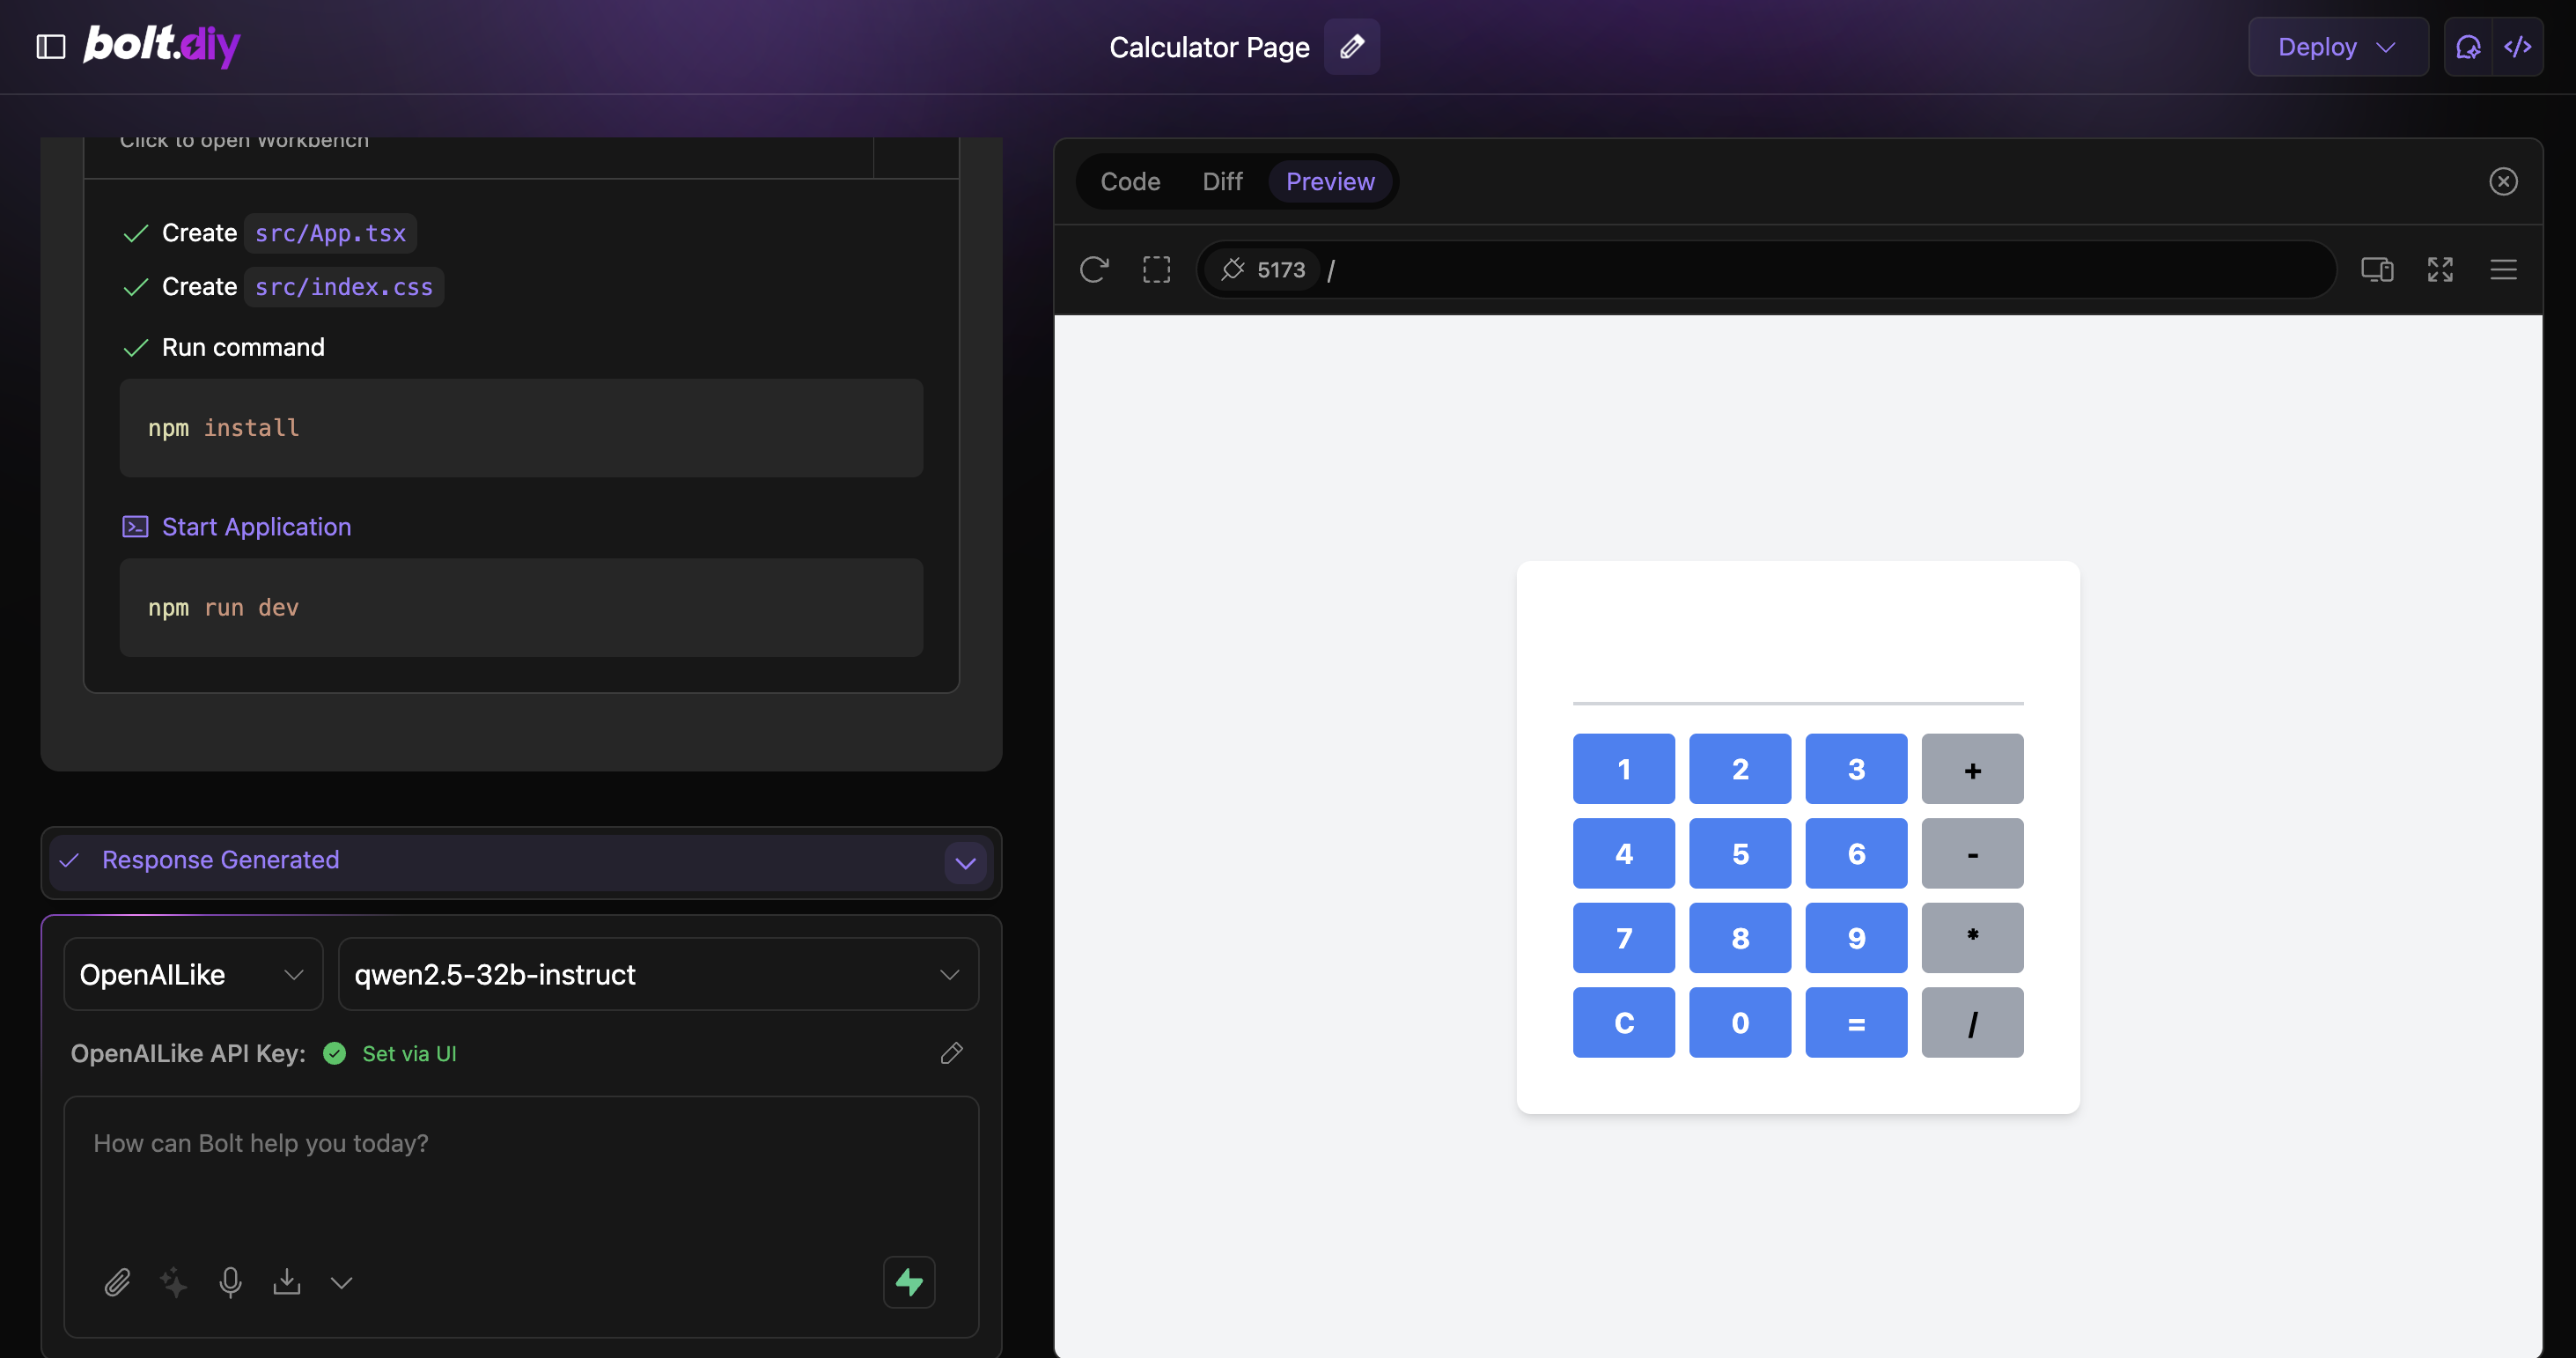
终于可以使用了
配置好阿里云的大模型后让写一个计算器的页面:
参考